
Following steps will allow user to install Realm Database in your application.
Step 1: Create a Database in Connector
After adding the realm Package it can be found under Connector where it can be fetched from Database Category.

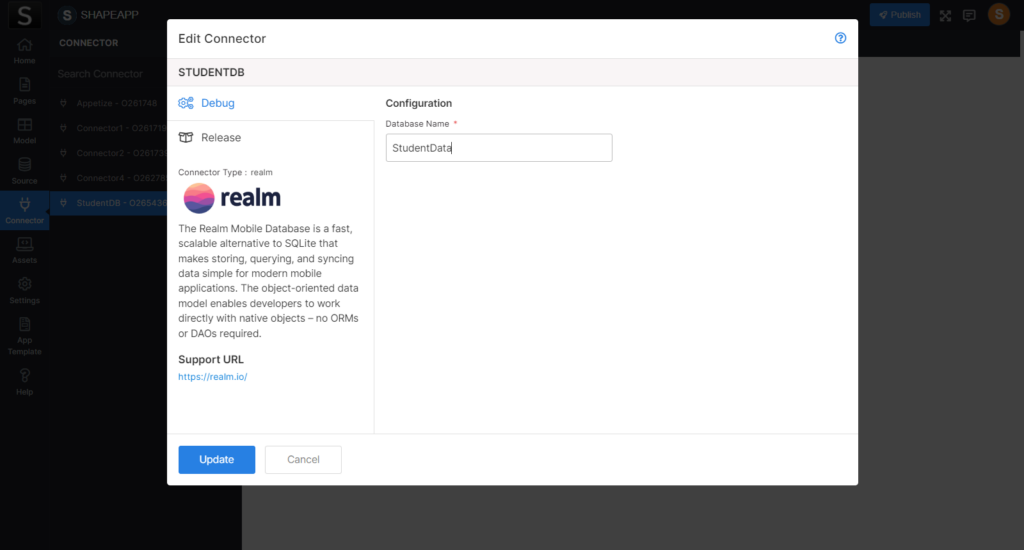
Step 2: Database Creation for Realm
The name of the Database which is used for Realm can be added here under the Configuration.
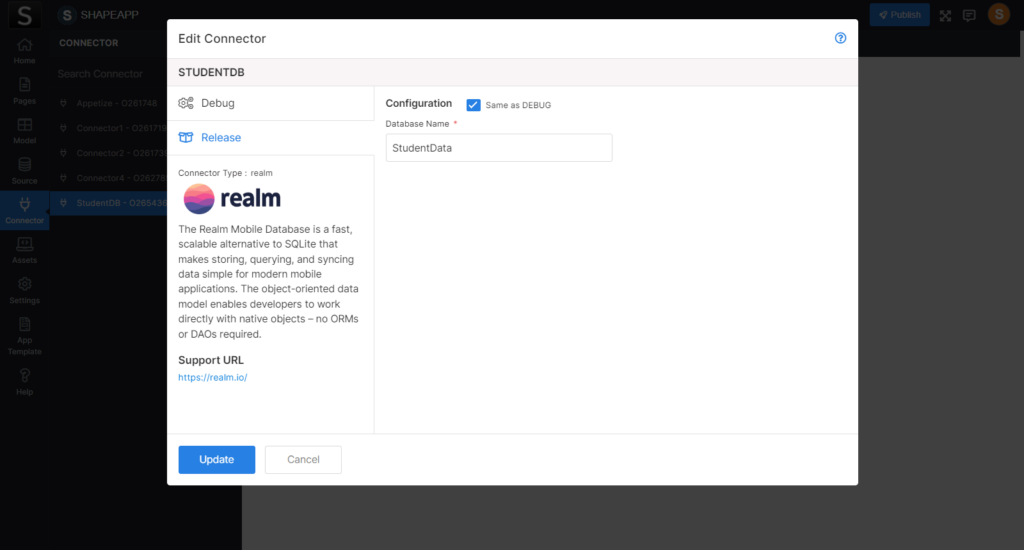
Step 3: Database configured in the Debug can be used in Release Mode
Here by ticking the checkbox, The Database used in Debug mode can be used while Release mode.
Step 4: Database display showing Realm in the New Source
Sources can be created by adding realms to the Database, which the user can access via the Source tab..

Step 5: Linking Source with Connector
In the Source, an already configured Database from the Connector can be found which will help the user to link Source and Connector.

Step 6: Model Creation
From the Model tab by clicking blank, the user can create an object (Single record) or collection (Array of records) type of table for communicating and mapping with components.

Step 7: Model- Data Field Creation
The user can create specific fields for this type of usage for the selected Model here (as mentioned above step)

Step 8: Linking Source with the Model
The user can connect the created Model with Source from Source tab.

Step 9: Model- Source Mapping
As the next step In the Model tab, the user can do the mapping from source to Model.

Step 10: Model- Source Mapping Display
As the final stage, the user here can update the model.
